GraphQL과 Apollo 서버
GraphQL은 페이스북에 의해 개발된 데이터 쿼리 언어로, 클라이언트가 필요한 데이터의 구조를 정확히 지정하고 그에 따라 서버로부터 데이터를 받아올 수 있는 방법을 제공합니다. 이는 REST API와 비교했을 때 데이터 오버페칭(더 많은 데이터를 받는 것)과 언더페칭(필요한 데이터를 충분히 받지 못하는 것)을 방지할 수 있습니다.
Apollo 서버는 GraphQL 스펙을 구현한 가장 인기 있는 서버 중 하나로, 간편한 설정과 확장성, 성능 등을 이유로 많이 사용됩니다. Node.js 환경에서 Apollo 서버를 설정하고 사용하는 과정은 다음과 같습니다.
Apollo 서버 설치
- 프로젝트 초기화: 먼저, Node.js 프로젝트 폴더에서 yarn init 명령을 실행하여 package.json 파일을 생성합니다. 이 파일은 프로젝트의 메타데이터와 의존성을 관리합니다.
- Apollo 서버와 GraphQL 라이브러리 설치: Apollo 서버와 GraphQL을 설치하기 위해 다음 명령을 사용합니다.
yarn add @apollo/server graphql
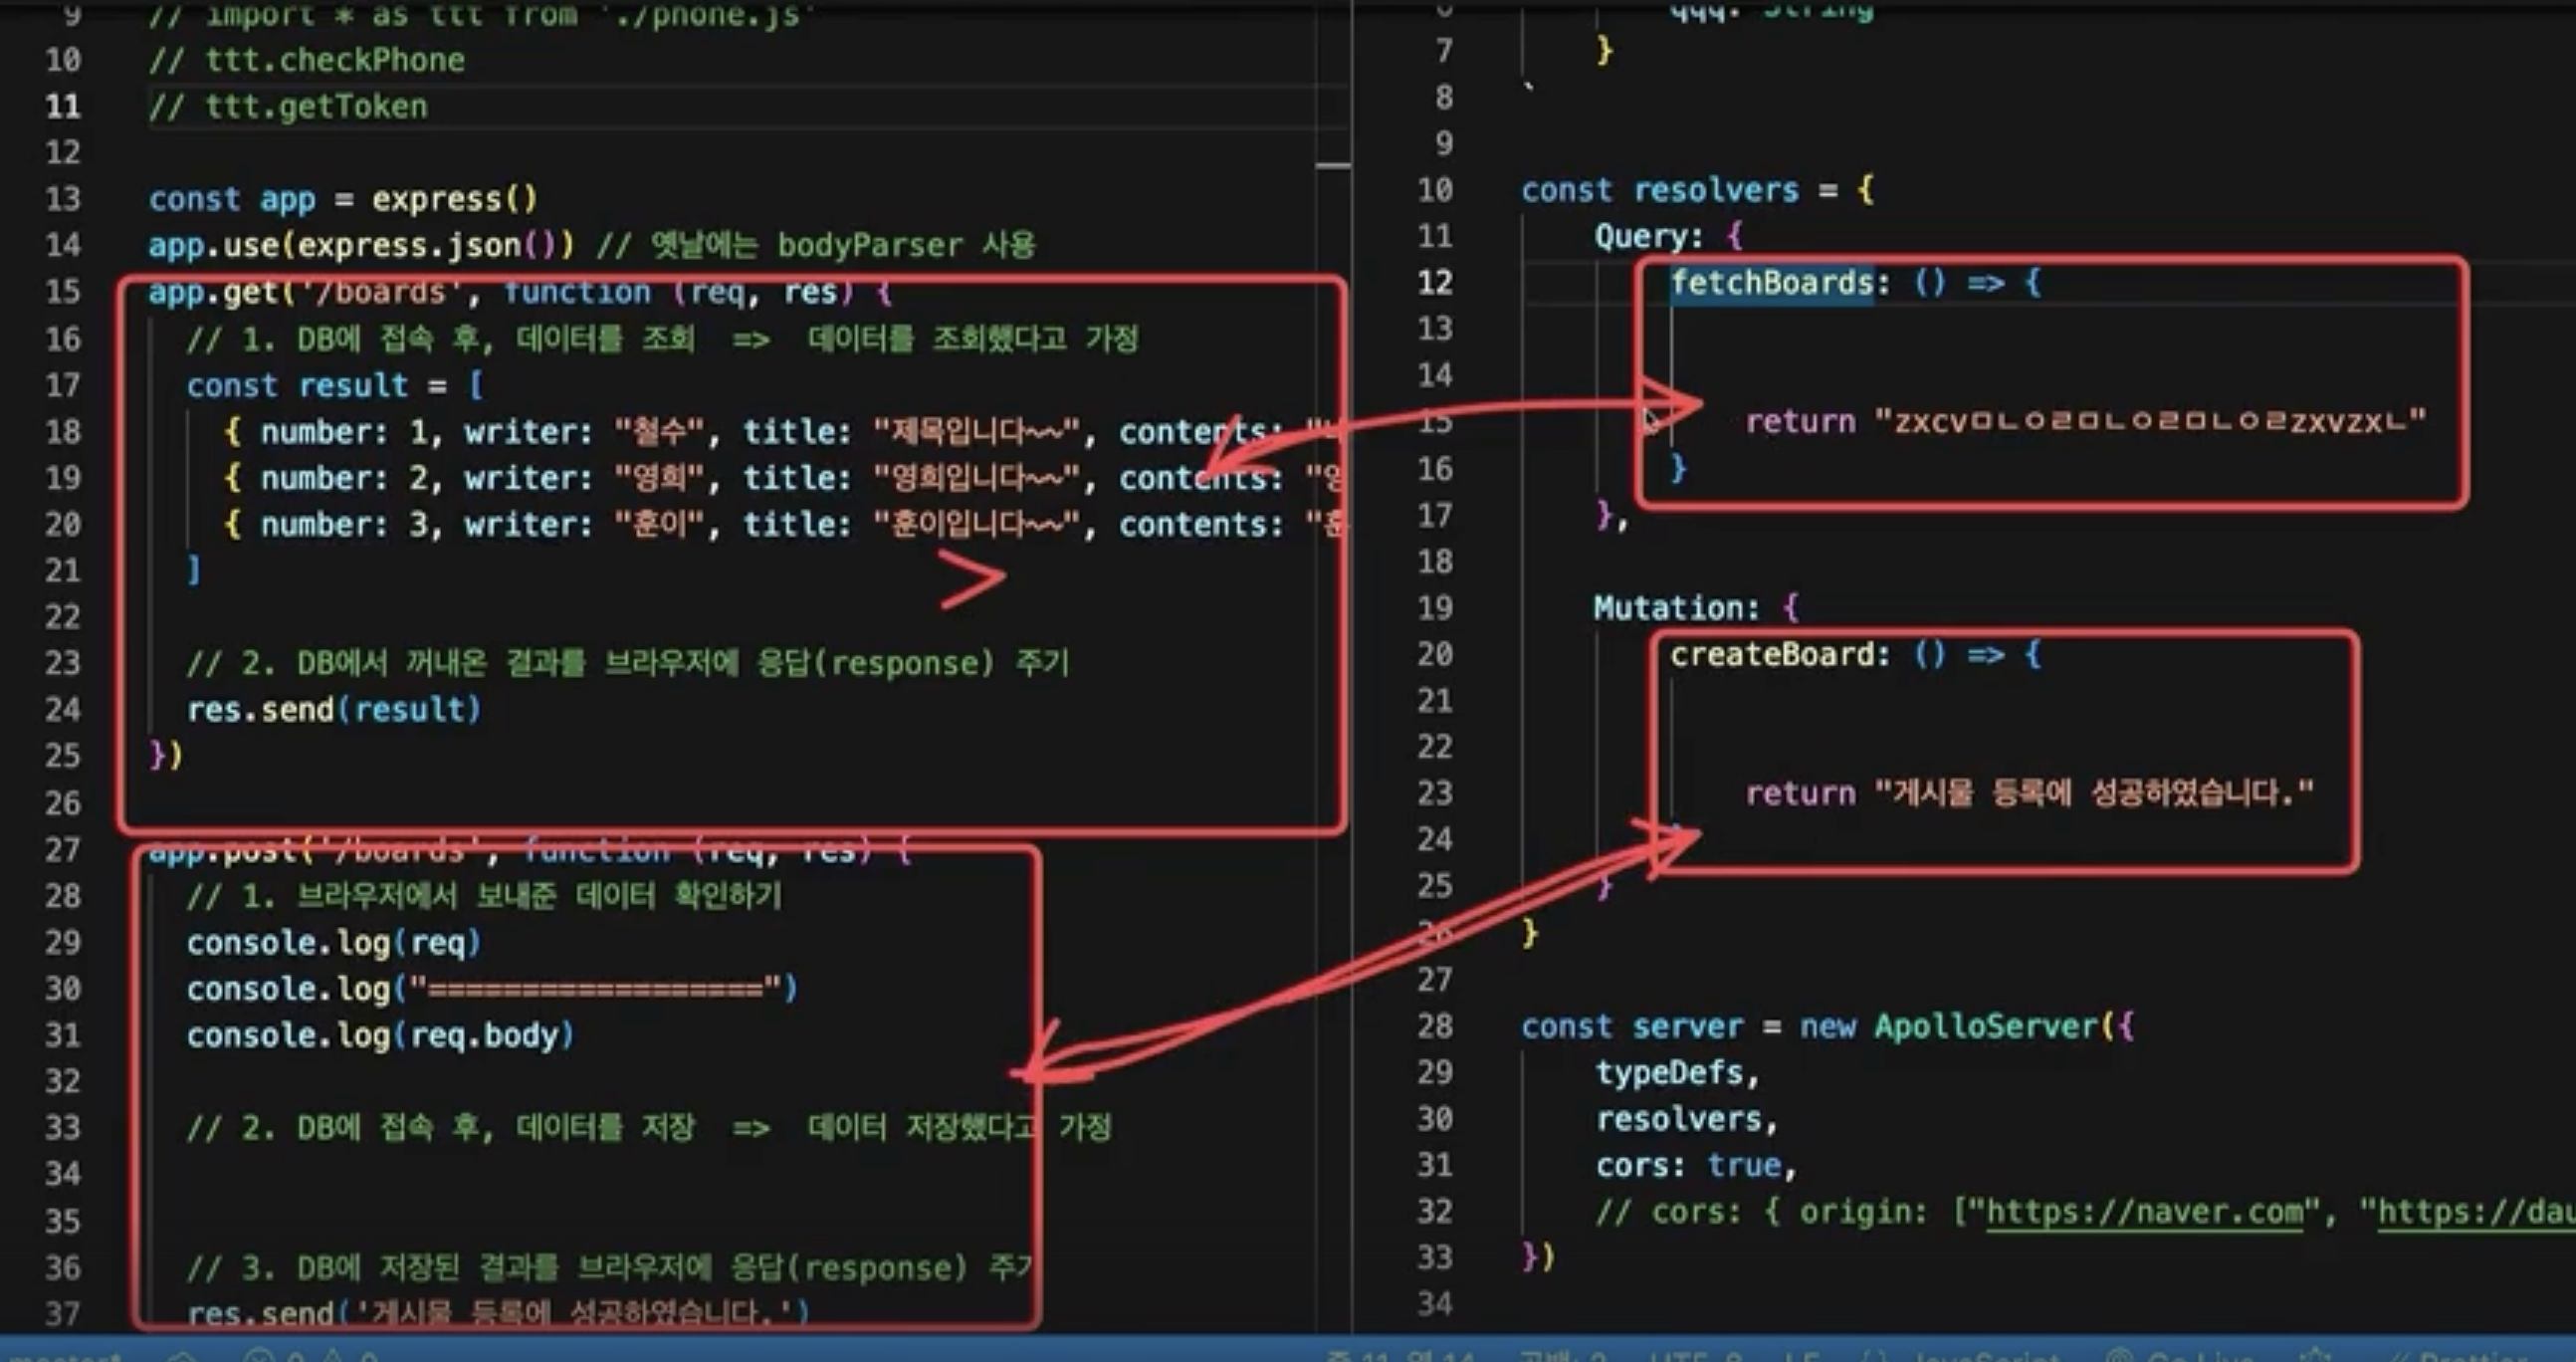
graphQL, Apollo 서버 의 예시코드
import { ApolloServer, gql } from '@apollo/server';
import { startStandaloneServer } from '@apollo/server/standalone';


//스웨거역할을한다
const typeDefs = gql`
  type Query {
    qqq: String
  }
`;

//결과값
const resolvers = {
  Query: {
    qqq: () => 'Hello World!'
  },
};


//스웨거랑 결과값을 서버에 저장
const server = new ApolloServer({
  typeDefs,
  resolvers
  //여기서 cors를 설정할 수 있다
});

/*startApolloServer 함수는 비동기 함수로, startStandaloneServer를 호출하여 서버를 시작합니다. listen 옵션을 통해 서버가 4000번 포트에서 리스닝하도록 설정합니다.
서버가 성공적으로 시작되면 콘솔에 메시지를 출력하여 서버가 준비되었음을 알립니다*/
async function startApolloServer() {
  await startStandaloneServer(server, {
    listen: { port: 4000 }  // 포트 설정
  });

  console.log(`🚀 Server ready at http://localhost:4000`);
}

//서버실행
startApolloServer();
express

'nest.js' 카테고리의 다른 글
| 데이터베이스(SQL,NoSQL,ORM,ODM)2024.05.12 (0) | 2024.05.14 |
|---|---|
| 동기(sync),비동기(async), 변수,함수 중복선언(2024.05.12) (0) | 2024.05.12 |
| cors(2022.05.11) (0) | 2024.05.11 |
| swagger(2024.5.11) (1) | 2024.05.11 |
| node.js(2024.05.10) (2) | 2024.05.10 |